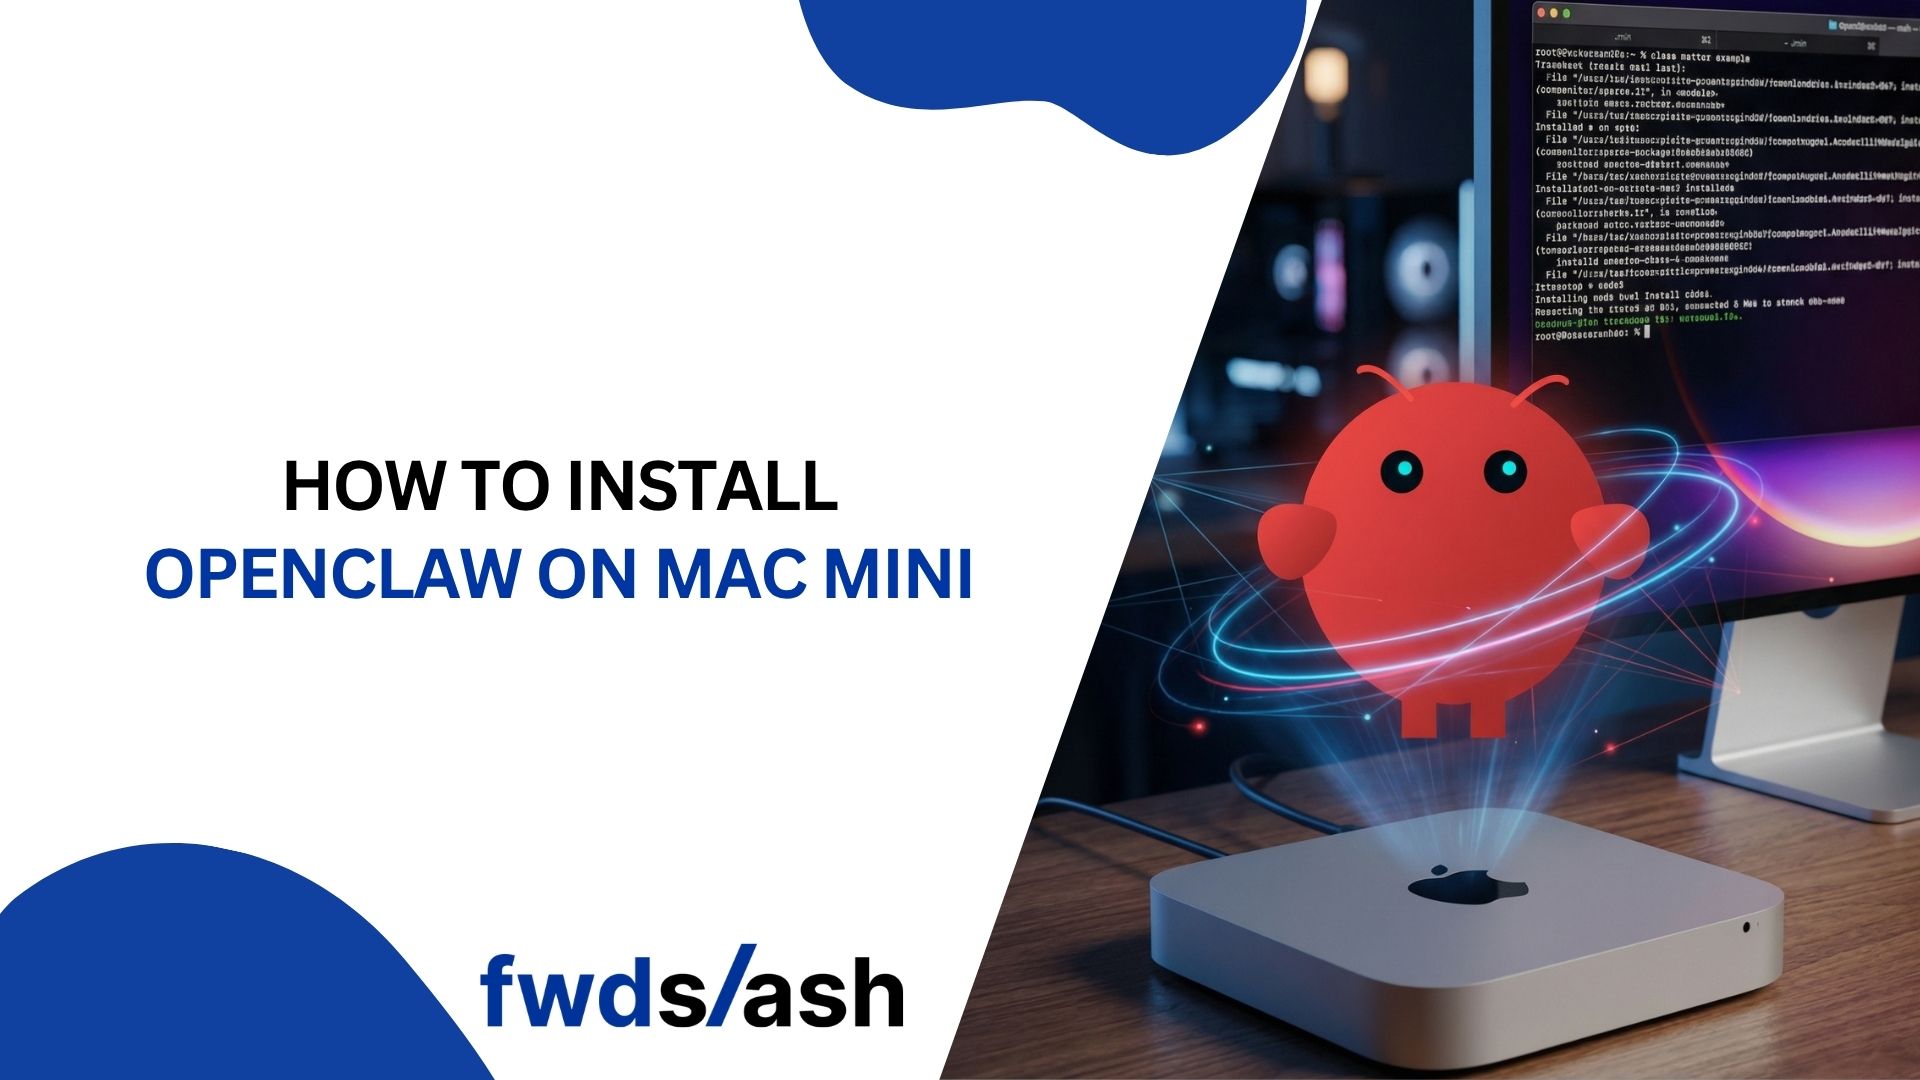
How to Install OpenClaw on Mac Mini (Step-by-Step Guide)
OpenClaw is an open-source AI agent that runs locally on your hardware and connects to messaging platforms like WhatsApp, Telegram, Slack, and Discord. Instead of relying on hosted AI services, you control your data, your API keys, and your workflows.
The Mac Mini with Apple Silicon has become the go-to device for running OpenClaw. It is power-efficient, whisper-quiet, and compact enough to sit on a shelf while operating 24/7 as your personal AI server. This guide walks you through the full installation process.
How to Install OpenClaw on Mac Mini
Before diving in, make sure you have the right hardware and a few minutes to spare. The entire setup takes about 10 to 15 minutes once your Mac Mini is connected to the internet.
Step 1: Choose the Right Mac Mini Model
The Mac Mini M4 with 16GB of RAM is the sweet spot for most users. Apple Silicon's unified memory architecture means the CPU and GPU share the same RAM, which is a significant advantage if you plan to run local AI models through Ollama alongside OpenClaw.
The base M4 Mac Mini with 16GB RAM and 256GB SSD (around $500 to $600) can run one main agent plus two or three sub-agents comfortably. If you want to run larger local models like Llama 3.1 70B, you will need 48GB or more. For setups that rely on cloud LLM providers like Anthropic or OpenAI, the base model is more than enough.
Step 2: Prepare Your Mac Mini
Once your Mac Mini is powered on, configure these macOS settings before installing anything.
First, update macOS. Go to System Settings, then General, then Software Update. Install all available updates so you are not dealing with reboots mid-setup.
Next, enable FileVault for full-disk encryption. Go to System Settings, then Privacy and Security, then FileVault. This encrypts your entire disk so no one can access your agent's data or API keys if the device is stolen.
Then, turn on the macOS Firewall. Navigate to System Settings, then Network, then Firewall, and turn it on. Click Options and enable "Block all incoming connections" except for services you explicitly use.
Finally, keep your Mac Mini awake. Go to System Settings, then Energy (or Battery on some models), and disable automatic sleep. Also enable "Start automatically after power loss" and "Wake for network access." Your AI agent needs to stay online around the clock.
If you plan to run the Mac Mini without a monitor (headless), pick up an HDMI dummy plug for around $8 to $10. It tricks macOS into thinking a display is connected, preventing issues with screen recording permissions and GUI rendering.
Step 3: Create a Dedicated User Account (Recommended)
Security is important when running any autonomous AI agent. OpenClaw can read files, execute shell commands, and access messaging platforms, so isolating it from your personal account is a smart move.
Go to System Settings, then Users and Groups, and create a new standard (non-admin) account. Run OpenClaw under this account so it can only access that account's home folder. Your personal Documents, Downloads, SSH keys, and Keychain data stay completely separate.
This five-minute step significantly limits the blast radius if anything goes wrong.
Step 4: Install Homebrew and Node.js
OpenClaw requires Node.js 22 or newer. The easiest way to install it on macOS is through Homebrew.
Open Terminal (use Spotlight to search for it) and run the Homebrew installation command:
/bin/bash -c "$(curl -fsSL https://raw.githubusercontent.com/Homebrew/install/HEAD/install.sh)"
After Homebrew is installed, install Node.js:
brew install node@22
Verify the installation by running node --version. You should see version 22 or higher.
Step 5: Install OpenClaw
With Node.js in place, installing OpenClaw is a single command:
npm i -g openclaw
This installs the OpenClaw CLI globally on your system. Once the installation finishes, run the onboarding wizard:
openclaw onboard
The wizard walks you through the setup step by step. It will ask you to:
- Choose your LLM provider (Anthropic, OpenAI, local models via Ollama, or others). For the best quality and prompt-injection resistance, Anthropic's Claude is recommended by the project's creator.
- Enter your API key from your chosen provider.
- Select your messaging channel (WhatsApp, Telegram, Slack, Discord, and more). Start with one channel and add others later.
- Configure skills. You can skip this during initial setup and install skills later.
- Set the Gateway bind address. Choose 127.0.0.1 (localhost only) for security. This ensures the gateway is only accessible from the Mac Mini itself.
The onboarding wizard also offers to install a LaunchDaemon so OpenClaw starts automatically on boot and restarts if it crashes. Accept this option for an always-on setup.
Step 6: Verify and Start Using OpenClaw
After onboarding completes, check that the daemon is running:
openclaw gateway status
If it is not running, start it with:
openclaw gateway start
Now open your messaging app (WhatsApp, Telegram, or whichever you configured) and send a message to your OpenClaw bot. You should get a response powered by your chosen LLM.
That is it. Your Mac Mini is now a personal AI server.
Running Local Models with Ollama on Mac Mini
One major advantage of using a Mac Mini is the ability to run AI models locally with Ollama. This eliminates cloud API costs and keeps all data on your hardware.
Install Ollama with Homebrew:
brew install ollama
Pull a model:
ollama pull llama3.1
Then configure OpenClaw to use your local model as described in the Ollama integration section of the official docs. With 16GB of RAM, you can run 7B to 13B parameter models. With 48GB or more, 70B models become viable.
Security Best Practices for OpenClaw on Mac Mini
OpenClaw is powerful, but that power comes with responsibility. The official documentation states plainly that there is no perfectly secure setup, so taking precautions matters.
Always bind the gateway to 127.0.0.1 (localhost). Never expose port 18789 to the internet. Use a VPN, SSH tunnel, or Tailscale for remote access instead. Run OpenClaw on a dedicated standard user account, keep macOS and OpenClaw updated, and be cautious with third-party skills from ClawHub. Consider installing a network monitoring tool like Little Snitch or the free LuLu to track outbound connections.
How AI Agents Are Changing Personal Productivity
OpenClaw is part of a broader shift toward AI agents that do not just answer questions but execute tasks on your behalf. From managing email inboxes to scheduling meetings and drafting content, the use cases keep expanding.
If you are exploring how AI agents can transform your small business operations, check out this guide on AI agents for small businesses. For businesses that want a no-code way to deploy AI agents across their website, customer support, and internal workflows, FwdSlash lets you build and deploy AI agents in minutes without writing a single line of code.
You might also find value in learning how to build an AI chatbot with a custom knowledge base or understanding the evolution of website chatbots to see how far the technology has come.
Conclusion
Installing OpenClaw on a Mac Mini is a straightforward process that gives you a personal AI assistant running entirely on your own hardware. The combination of Apple Silicon's efficiency, macOS's reliability, and OpenClaw's open-source flexibility makes this one of the most practical self-hosted AI setups available today. Start with the base Mac Mini M4, follow the steps above, and you will have a fully functional AI agent within 15 minutes.
Frequently Asked Questions
1) What is OpenClaw?
OpenClaw (formerly known as Clawdbot and Moltbot) is a free, open-source AI agent that runs locally on your machine. It connects to messaging platforms like WhatsApp, Telegram, Slack, and Discord, allowing you to interact with an AI assistant that can execute real tasks such as running shell commands, managing files, and automating workflows.
2) Which Mac Mini model is best for OpenClaw?
The Mac Mini M4 with 16GB of unified memory is the recommended starting point. It handles one main agent and a few sub-agents comfortably while staying power-efficient enough for 24/7 operation. If you plan to run large local AI models, consider the 48GB or higher configuration.
3) Do I need a monitor connected to the Mac Mini?
No. Most users run the Mac Mini headless (without a monitor). However, you should get an HDMI dummy plug (around $8 to $10) to prevent macOS from encountering display-related permission issues in headless mode.
4) Is OpenClaw safe to use?
OpenClaw requires broad system permissions to function, which introduces risk. Follow security best practices: use a dedicated user account, bind the gateway to localhost, enable FileVault encryption, keep software updated, and be cautious with third-party skills from ClawHub.
5) Can I use OpenClaw without a Mac Mini?
Yes. OpenClaw runs on macOS, Linux, and Windows (via WSL). You can install it on a VPS, a Raspberry Pi, an old laptop, or a cloud server. The Mac Mini is popular for its compact size, low power consumption, and Apple Silicon performance, but it is not required.


Lastest blog posts
Tool and strategies modern teams need to help their companies grow.